Animated laptop from website

Just redesigned the landing page for haakon.underbakke.net. Here’s a self-contained component that only needs styled-components (and material icons cdn, if you want the same icons) installed to work, if you want to use it for yourself.

The laptop also turns white (to contrast darker backgrounds) on @media (prefers-color-scheme: dark).

https://codesandbox.io/s/laptop-animation-d70o1

import React, {useState, useEffect} from "react";
import styled, {keyframes} from "styled-components";
import ReactDOM from "react-dom";
import "./styles.css";
/////////////////////////////////////
const LaptopScreenAnimation = keyframes`
  from {
    transform: rotateX(-90deg) scale(1.1);
  }
  50%{
    transform: rotateX(-90deg) scale(1.1);
  }
`;
const MobileScreenAnimation = keyframes`
  from {
    transform: rotate(2deg) translate(20px, 20px);
    opacity:0;
  }
  50% {
    transform: rotate(22deg) translate(20px, 20px);
    opacity:0;
  }
`;
const LaptopScreen = styled.div`
  transition: transform 2s ease-out;
  animation: ${LaptopScreenAnimation} 2s ease-out;
  animation-fill-mode: forwards;
  transform-origin: bottom;
  display: flex;
  margin: 50px 0 0;
  height: 300px;
  background: #eee;
  border: 15px solid #333;
  border-radius: 10px;
  border-bottom-left-radius: 0px;
  border-bottom-right-radius: 0px;
  justify-content: center;
  align-items: center;
  @media (prefers-color-scheme: dark) {
    background: #1d1d29;
    border-color: #ccc;
  }
  @media screen and (max-width: 620px) {
    border-radius: 10px !important;
  }
  @media screen and (max-width: 520px) {
    animation: ${MobileScreenAnimation} 1.2s ease-out;
  }
  @media screen and (max-width: 500px) {
    padding-top: 50px;
    padding-bottom: 50px;
  }
  @media screen and (max-width: 400px) {
    padding-top: 20px;
    padding-bottom: 20px;
    height: 250px;
  }
  @media screen and (max-width: 310px) {
    border-width: 7px;
  }
  &.closed {
    animation: none;
    transition: transform 2s ease-out;
    transform: rotateX(-90deg) scale(1.1);
  }
`;
/////////////////////////////////////
const LaptopAnimation = keyframes`
  from{
    transform:translate(0px, -10px);
    opacity:0;
  }
  60%{
    transform:translate(0px, -10px);
    opacity:0;
  }
  90%{
    opacity:0;
  }
`;
const Laptop = styled.div`
  animation: ${LaptopAnimation} 1s ease-in-out;
  width: 100%;
  max-width: 500px;
  margin: 100px auto 70px;
`;
/////////////////////////////////////
const LaptopKeyboard = styled.div`
  height: 15px;
  background: #c5c5c5;
  width: calc(100% + 80px);
  margin-left: -40px;
  border-radius: 10px;
  position: relative;
  @media screen and (max-width: 620px) {
    transition: height 0.2s ease-out;
    height: 0px;
    &:before {
      transition: height 0.2s ease-out;
      height: 0px !important;
    }
    &:after {
      transition: height 0.2s ease-out;
      height: 0px !important;
    }
  }
  @media (prefers-color-scheme: dark) {
    background: #aaa;
  }
  &:before {
    content: "";
    position: absolute;
    left: 0;
    right: 0;
    height: 10px;
    background: #eee;
  }
  &:after {
    content: "";
    position: absolute;
    top: 0px;
    left: 50%;
    width: 100px;
    margin-left: -50px;
    background: #aaa;
    height: 5px;
    border-bottom-right-radius: 5px;
    border-bottom-left-radius: 5px;
  }
`;
/////////////////////////////////////
const IconAnimation = keyframes`
  from{
    opacity:0;
    transform:translate(0px, 10px) scale(0.9);
  }
  40%{
    opacity:0.8;
    transform:translate(0px, 0px);
  }
  52.5%{
    transform:rotate(5deg);
  }
  65%{
    transform:rotate(-5deg);
  }
  80%{
    opacity:0.8;
    transform:translate(0px, 0px);
  }
  100%{
    opacity:0;
    transform:translate(0px, 10px) scale(0.8);
  }
`;
const Icon = styled.div`
  font-size: 5em !important;
  font-weight: bold;
  font-family: monospace;
  user-select: none;
  color: #666;
  animation: ${IconAnimation} 2.5s ease-in-out infinite;
  @media (prefers-color-scheme: dark) {
    color: #555;
  }
  .material-icons {
    font-size: 1em !important;
    transform: translate(0px, 10px);
  }
`;
/////////////////////////////////////
/////////////////////////////////////
/////////////////////////////////////
const Animation = () => {
  const loopTextArray = [
    <i className="material-icons">chat_bubble_outline</i>,
    <i className="material-icons">code</i>,
    "❤",
    <i className="material-icons">queue_music</i>
  ];
  const [loopText, setLoopText] = useState(0);
  const changeLoopText = value => {
    if (value >= loopTextArray.length) {
      setLoopText(1);
      setTimeout(changeLoopText.bind(null, 0), 2500);
    } else {
      setLoopText(value);
      setTimeout(changeLoopText.bind(null, value + 1), 2500);
    }
  };
  useEffect(() => {
    setTimeout(changeLoopText.bind(null, loopText + 1), 500);
  }, []);
  return (
    <Laptop>
      <LaptopScreen>
        <Icon key={loopText + Math.random() * 20}>
          {loopTextArray[loopText]}
        </Icon>
      </LaptopScreen>
      <LaptopKeyboard />
    </Laptop>
  );
};
/////////////////////////////////////
ReactDOM.render(<Animation />, document.getElementById("root"));
/////////////////////////////////////
export default Animation;

Material design – Ripple button component (react)

I love the onClick-ripple effect that material design buttons offer. I decided to make my own button-component that inhabits this effect by default, but is also flexible beyond that feature. Here’s the result:

I went for react-jss for styling the component as to make it as self-contained as possible. If you don’t want to use react-jss, you can just import the stylesheet included in the codesandbox.

About me

Hey! My name is Håkon Underbakke. I’m a front end developer from Norway, currently living in Stavanger and working mainly with React.

I have been working for Idean since April 2020, doing front end development. Before that, I worked for LIGL AS for 4 years, doing various web projects as well as legal document automation programming. My biggest project yet has been building the website for Ida by LIGL, which is how LIGL shares their automated legal processes with the public.

Some of my previous freelance work include Ryfylke Bok & IT, Ryfylke Kranservice & Eirik Underbakke (portfolio).

I also publish various projects on my blog.

Tools

  • Git
  • NPM
  • Visual Studio Code
  • Microsoft Teams

Technologies

  • React.js
  • SASS
  • PHP
  • SQL
  • HTML
  • ContractExpress Author

Music

Beforeunload on a React component

Say you want to warn users before closing the page, but only when a specific component is loaded, here’s what to do:

import React, { useEffect } from "react";

const WrapperWithBeforeUnload = ({
  msg = 'Please reconsider before closing this page',
  children
}) => {

  const beforeUnloadHandler = (e) => {
    e.preventDefault();
    return e.returnValue = msg;
  }

  useEffect(() => {
    window.addEventListener("beforeunload", beforeUnloadHandler);
    return () => window.removeEventListener("beforeunload", beforeUnloadHandler);
  }, []);

  return children || <React.Fragment />;
}

Notifying users about updates (create-react-app)

In serviceWorker.js there is a function that sits around line 74, called installingWorker.onstatechange. Inside of the function there is a condition checking if the state is “installed” and then logging out a message for the console. The goal here is to simply insert your own code below to notify the user of this outside of the console. Something like the following could work:

let newUpdateNotification = document.createElement("div"); // Create a div
newUpdateNotification.classList.add("newUpdateNotification"); // Give it a class so we can style it
newUpdateNotification.innerHTML = `A new update is available. Please close all instances of ... and reopen to install the update`; // Give the notification a message
document.body.appendChild(newUpdateNotification); // Append div to body

Now all you need is to add some styles to .newUpdateNotification and voilà, you successfully notify users about incoming updates!

Ida by LIGL – A React-powered PWA

What is Ida?

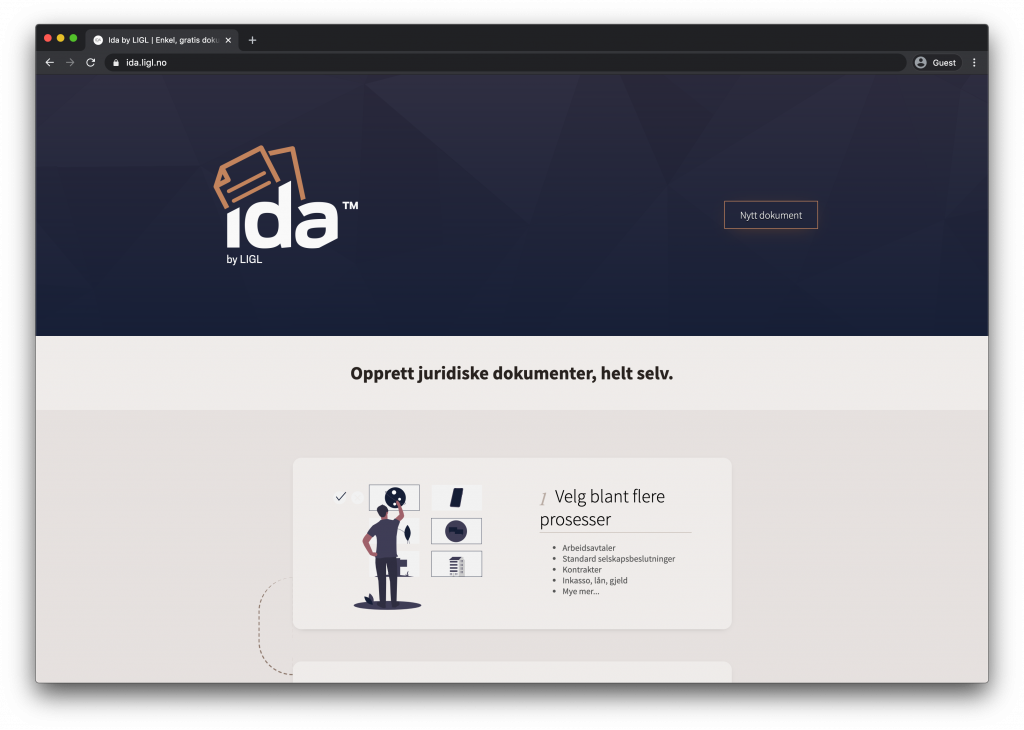
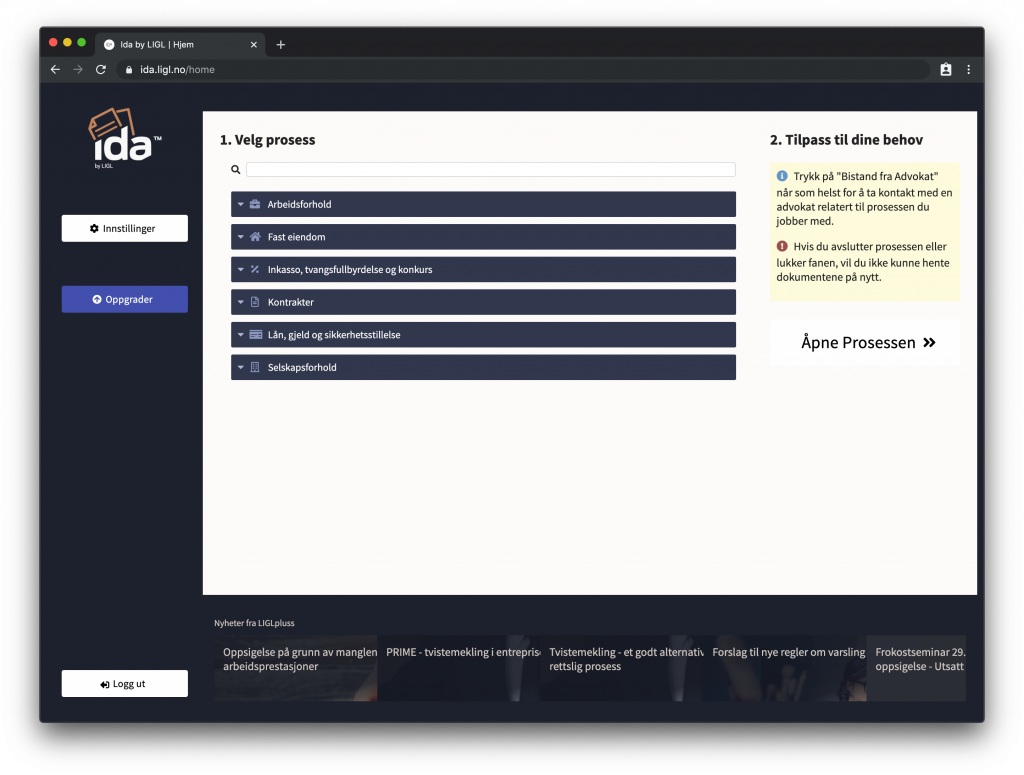
Ida by LIGL is a Norwegian progressive web application, which I helped develop in React. The app features several juridical processes which are fully customisable, to easily allow the user to create his or her own contracts and documents.

https://ida.ligl.no

Humble beginnings

Ida started out as a simple web app I wrote in vanilla JS. I first started working on this in 2017. The app lacked code-structure and was really hard to maintain, but it worked fine. We eventually decided to re-write the app into an Electron-app, so that it would feel more like a standalone app and so that we could make the DOM harder to read for would-be copycats.

From Electron to PWA

The benefits of having a centralized PWA hosted on our servers, and using React to gain control over our code-structure made maintaining the app a lot easier. The biggest benefit in our case was that PWAs allow us to automatically update the app for all users, without the need for a complex update server system, or worrying too much about local builds on users computers.

Ryfylke Kranservice

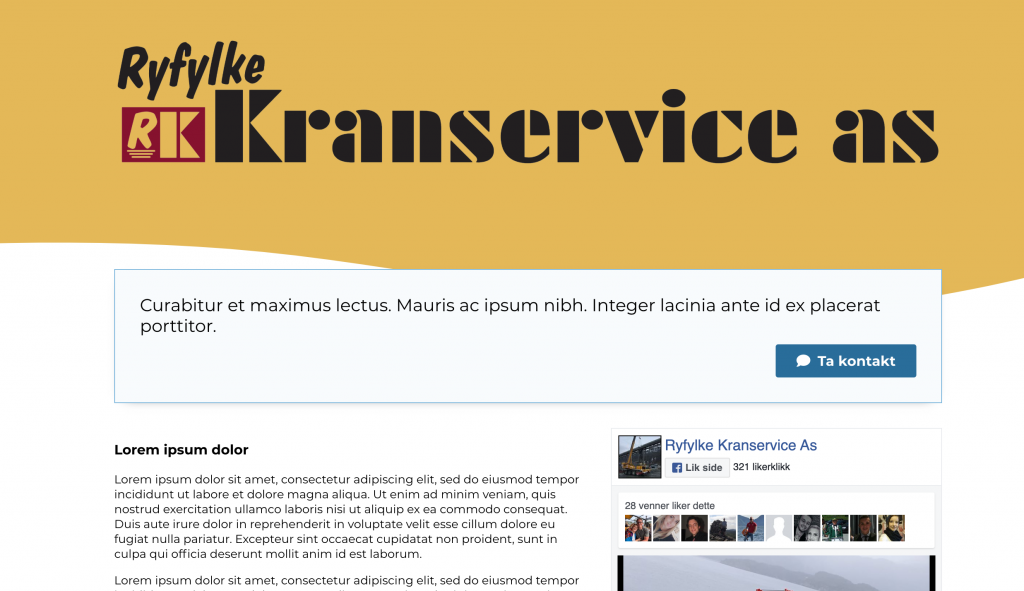
My latest project has been developing Ryfylke Kranservice as’s website. They wanted a simple website, with a simple back-system for them to edit the website. I decided to go for React again for this project, mainly for the benefits of maintenance, but also the performance.

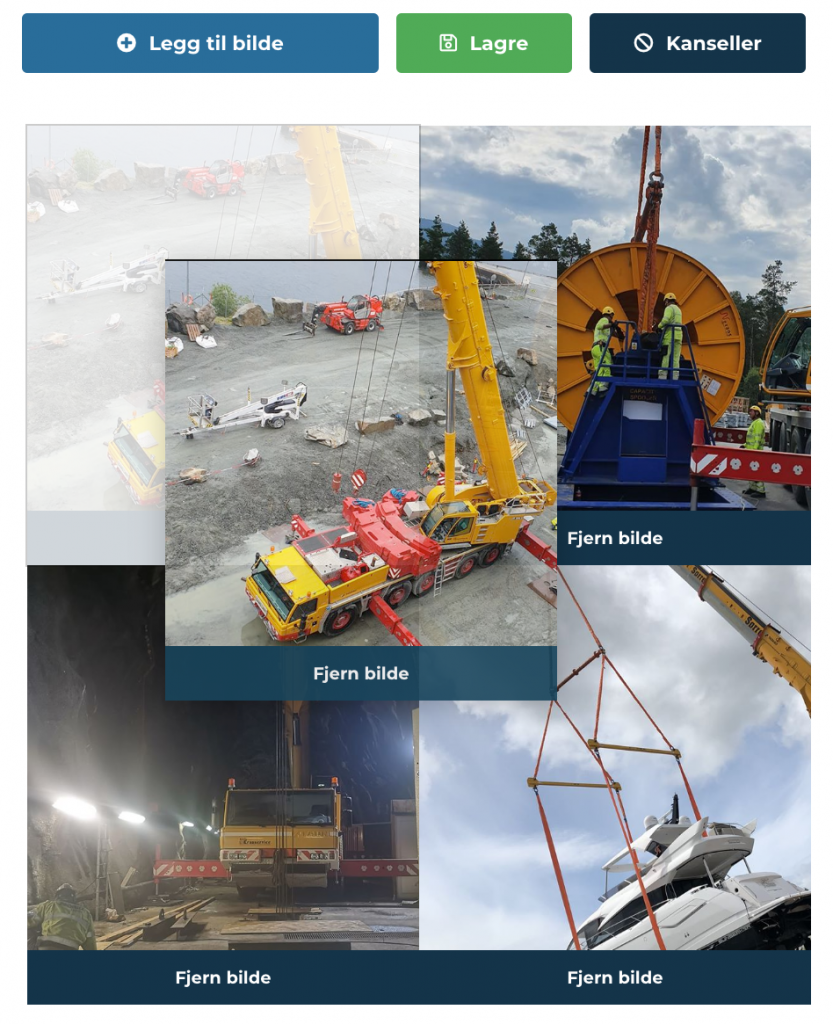
Drag ‘n’ drop editing

This was my first introduction to building a drag ‘n’ drop feature in React. The website includes a gallery, and to allow the owner to easily reorder the gallery I decided on creating a drag ‘n’ drop feature. To my surprise it was pretty easy and went very well.

I use the following props/event-listeners on the image objects:

  • onDrag: When item is dragged
  • onDrop: When something is dropped on top of the item.
  • onDragOver: When something is dragged over the item.
  • onDragLeave: When something that is dragged over the item leaves the item.
  • data-priority: Numeric order of objects
  • key: index

Here are my event functions:

  onDrag = event => {
    event.preventDefault();
    this.setState({
      draggedItem: event.target.getAttribute("data-priority")
    });
  };
  onDragOver = event => {
    event.preventDefault();
    event.target.classList.add("draggedOver");
  };
  onDragLeave = event => {
    event.preventDefault();
    event.target.classList.remove("draggedOver");
  };
  onDrop = event => {
    event.preventDefault();
    let droppedOnto = parseInt(event.target.getAttribute("data-priority"));
    let droppedItem = parseInt(this.state.draggedItem);
    let newImages = [];
    this.state.images.forEach(img => {
      let url = img.url;
      let priority = img.priority;
      // Here is where I swap places on drop //
      if (priority === droppedItem) {
        priority = droppedOnto;
      } else if (priority === droppedOnto) {
        priority = droppedItem;
      }
      /////////////////////////////////////////
      newImages.push({ url, priority });
    });
    this.setState({
      images: sortObjects(newImages)
    });
    event.target.classList.remove("draggedOver");
  };